Survey Builder
Editing the Survey Welcome Screen and Start Button Text
Control what respondents see before question one — the survey name, time estimate, optional consent screen, and entry messages.
Overview
Control what respondents see before question one — the survey name, time estimate, optional consent screen, and entry messages. The welcome card is assembled from your survey's settings rather than written free-form.
What the welcome screen shows
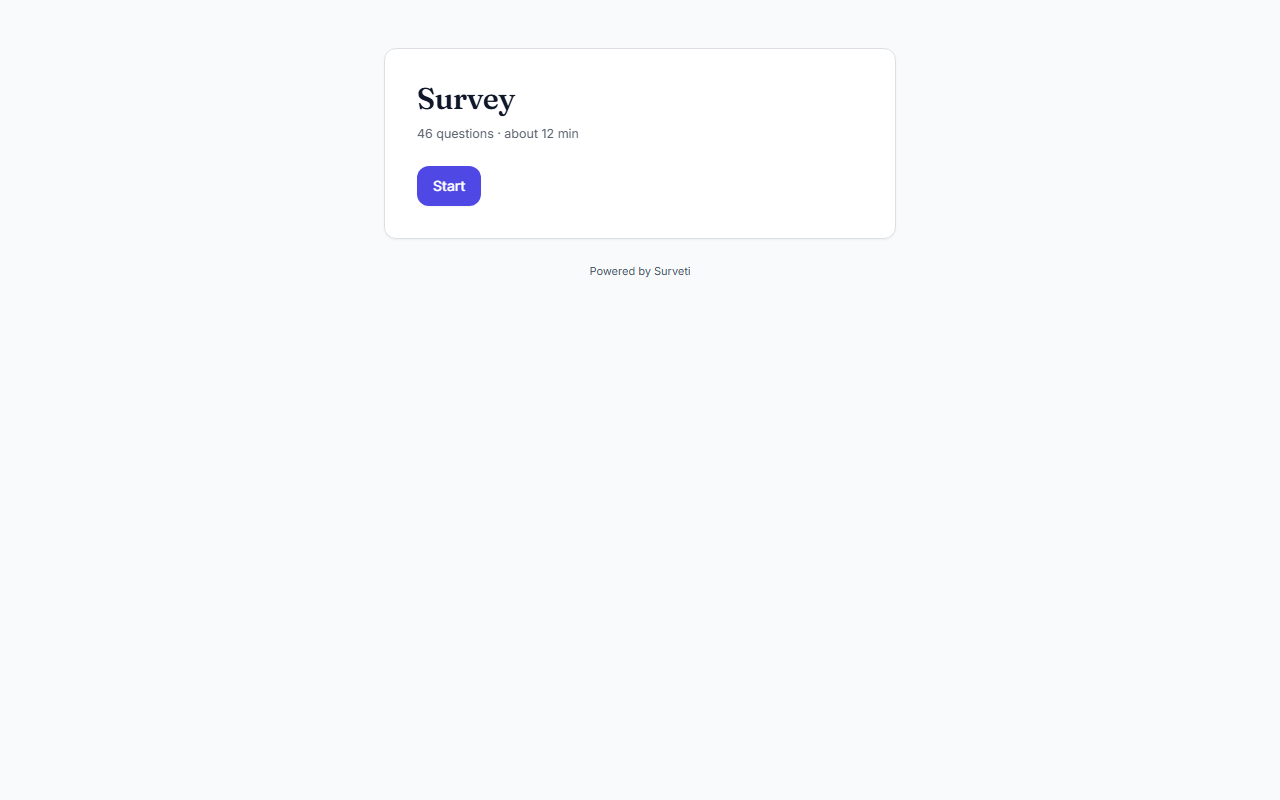
When a respondent opens your link, they see a card with the survey name, the question count and estimated time, and a Start button. The Start button's label is standard chrome — it's translated automatically for each supported locale rather than edited per survey.
Step-by-step
Set the survey name deliberately — the name you give the survey is the headline respondents see. "Customer Research Study" reads better on the welcome card than an internal codename.
Tune the time estimate — open Tools → Survey settings and set Estimated LOI (seconds). The welcome card converts it to "about N minutes"; honest estimates measurably reduce mid-survey abandonment.
Add a consent screen if you need one — in the same panel, enable Require consent before the survey and write the Consent text. Respondents must agree before question one; decliners can be routed to a URL you set.
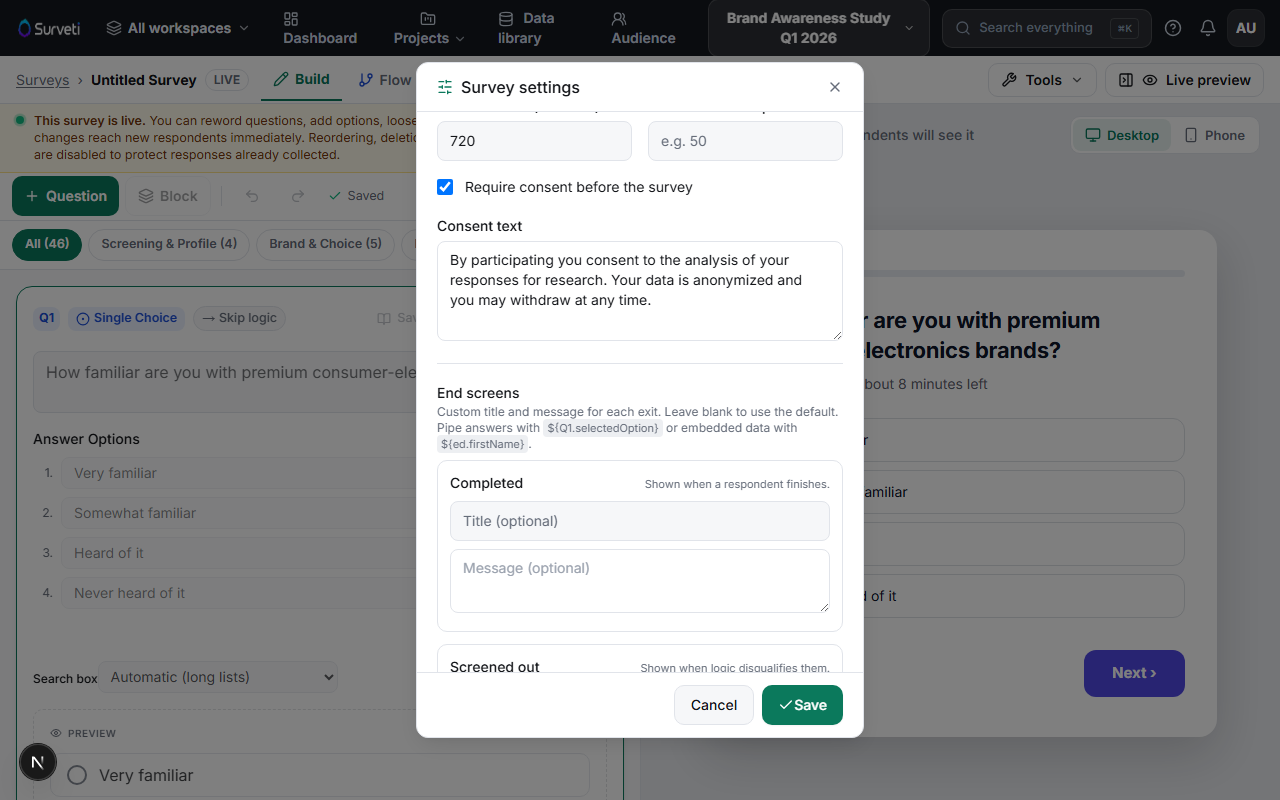
Cover the closed states — Entry screens in the same panel let you customize what respondents see if they arrive while the survey is Paused, Closed, or past its response limit.
Tips
Tip: Keep the welcome experience short. Every sentence before question one costs respondents — put context that matters into the consent text (where reading it has a purpose) rather than a long preamble.
Related articles
- Customizing the Survey Completion Screen Message — the other end of the journey
- How to Name and Save Your Survey — the name is the headline