Getting Started
How to Name and Save Your Survey
Name your survey when you create it, and let the builder's autosave keep every change — there is no Save button to remember.
Overview
Name your survey when you create it, and let the builder's autosave keep every change — there is no Save button to remember.
Step-by-step
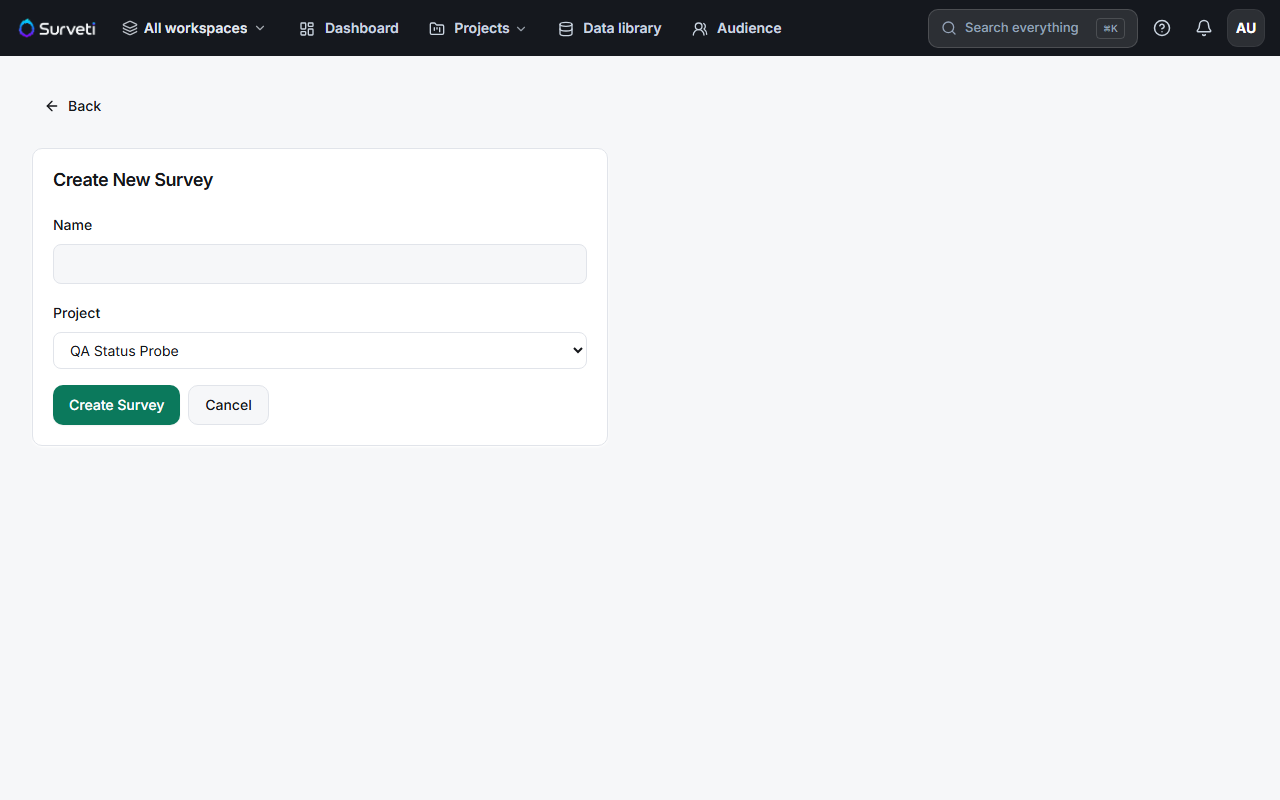
Name the survey at creation — the Name field on the Create New Survey form is required. This name appears in your survey list, on the builder's breadcrumb bar, and in search results, so make it specific ("Onboarding NPS — July" beats "Survey 3").
Watch the autosave indicator while you edit — in the builder toolbar, next to the undo/redo arrows, the indicator cycles through Unsaved → Saving… → Saved as you make changes. Every edit is written automatically within moments.
Close the tab whenever you like — once the indicator reads Saved, everything is stored. Your survey stays in Draft status until you take it live, so you can leave and return as often as you want.
Tips
Tip: Include the audience or wave in the name ("Churn Study — Enterprise customers") — six months from now, the survey list is how you'll find it.
Note: If the indicator sticks on Unsaved, check your internet connection before closing the tab — the builder needs a connection to store changes.
Related articles
- Creating Your First Survey from Scratch — the full builder walkthrough
- Understanding Survey Status: Draft, Live, Paused, and Closed — what Draft means